 Story Mode Guy
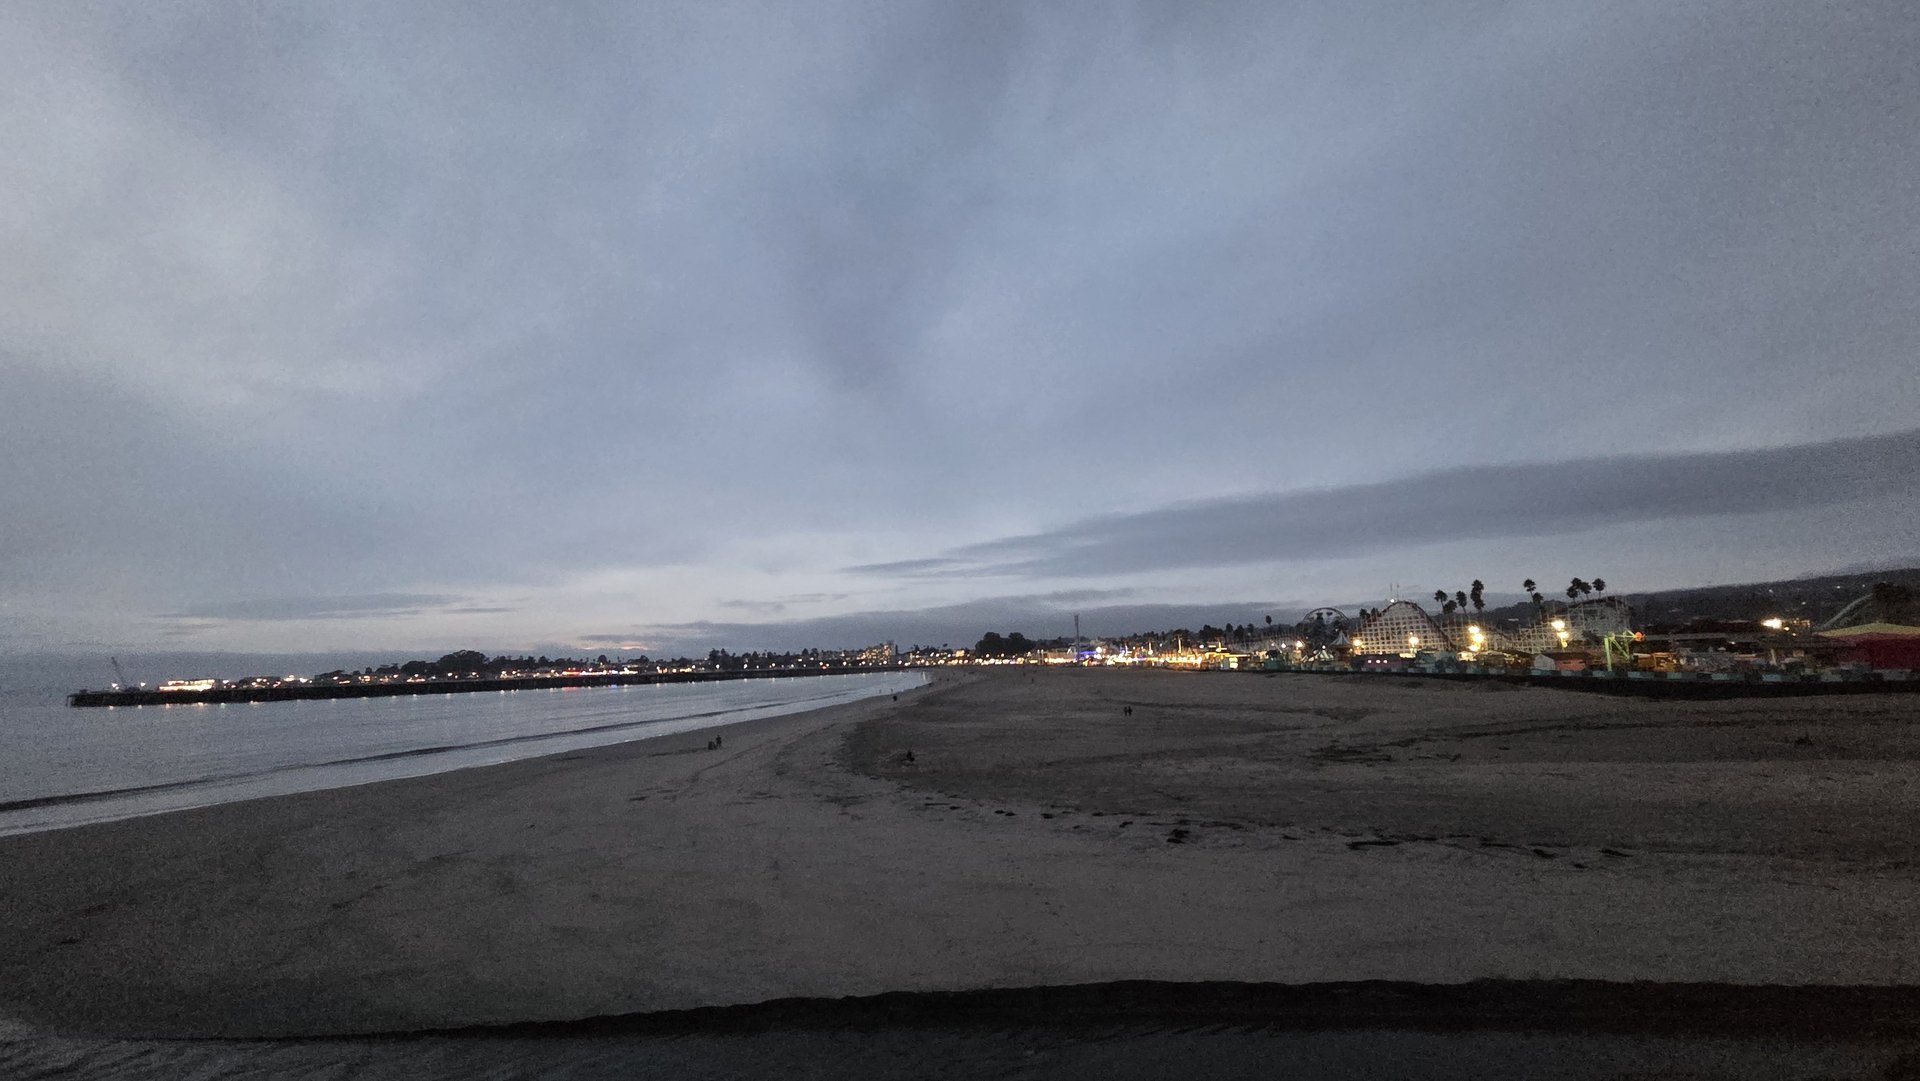
Blue hour is the stretch of twilight when the sun is below the horizon but the sky still holds deep, even color. It lasts roughly 20 to 40 minutes, depending on your latitude and the season, and it is the best light you can get for anything with lights in it: coastlines, piers, city streets, a lit-up boardwalk. Most people are already packing up by then, which is why it stays under-shot.
If you have ever taken a night photo where the sky was dead black and every light was a blown-out smear, you were probably too late. Here is what blue hour actually is, when it happens, and the settings I use to get clean, sharp frames.
What blue hour actually is
After the sun drops below the horizon, the sky doesn't go dark all at once. Direct light is gone, but the atmosphere keeps scattering sunlight from the other side of the horizon, and what's left is a soft, cool, shadowless wash. The sky turns from orange and pink into a deep blue, and it stays luminous for a while before fading to black.
The reason this matters for photography is balance. Your camera can't hold a black night sky and a bright streetlight in the same frame without clipping one of them. During blue hour the sky is still bright enough to sit close in exposure to the artificial lights below it. Everything fits in one frame, with detail in the sky and glow in the windows.
When it happens (and the golden hour mix-up)
Blue hour happens twice a day: in the morning before sunrise, and in the evening after sunset. Evening is the one most people shoot, and the window is roughly the 20 to 40 minutes after the sun disappears. It's different from golden hour, which is the warm, directional light before sunset. Golden hour is about sun on your subject. Blue hour is about the sky and the lights.
- Be set up before sunset ends. The best color often comes 15 to 25 minutes after the sun is gone, and you don't want to be fumbling with a tripod when it arrives.
- Check your sunset time and plan backward. Any weather app gives you sunset. Arrive 30 minutes early, shoot the sunset itself, then stay.
- The sky changes fast. The balance between sky and artificial light is best for only a few minutes. Shoot continuously through the window rather than waiting for one perfect moment.
On the central coast, the fog layer can swallow a sunset completely, but blue hour often survives it as a soft, silvery-blue glow. I've gotten some of my best frames on nights I almost didn't bother. If you're picking a spot for the evening, my notes on the best sunset spots in Santa Cruz work just as well for staying through twilight.
The setup: tripod, low ISO, longer shutter
Blue hour is dim. You have two choices: crank the ISO and handhold, or go the other way and let time do the work. For anything that holds still, go the other way.
- Put the camera on a tripod. This is the single biggest upgrade. A tripod lets you use shutter speeds of several seconds without blur.
- Drop to base ISO. ISO 100 (or whatever your camera's lowest native setting is) gives the cleanest file. You are collecting a lot of light slowly instead of amplifying a little light loudly.
- Pick an aperture for sharpness. f/8 to f/11 is a good range for landscapes and cityscapes. It keeps foreground and background sharp and turns point lights into small starbursts.
- Let the shutter fall where it needs to. Use Aperture Priority or Manual and expect anywhere from 2 to 15 seconds, depending on how dark it is. Check the histogram and adjust.
- Fire without touching the camera. Use a 2-second self-timer or a remote release so pressing the button doesn't shake the frame.
Two small details that save frames: turn off in-body or lens stabilization when you're locked down on a tripod, since it can introduce tiny blur on a perfectly still camera. And shoot RAW. You'll want the extra latitude for color and shadows later.
Skip the trial and error at night
My Low-Light & Night Photography guide covers blue hour, light trails, neon, handheld low light, and noise control, with starting settings for six common night scenarios.
Get the Low-Light guide ($27) →White balance: keep the blue, fix the rest
This is where blue hour photos go wrong most often. Auto white balance sees all that blue and tries to neutralize it, which can drain the exact color you came for. A few ways to handle it:
- Shoot RAW and set white balance later. This is the safest approach, and it costs nothing in quality.
- If you set it in camera, a daylight or slightly cooler preset usually keeps the sky blue while letting the warm artificial lights stay warm. That warm-versus-cool contrast is the whole look.
- Don't over-correct in editing. If the sky has gone cyan or purple, nudge it back toward a natural deep blue. Pushing saturation too hard is what makes twilight shots look fake.
Use the lights: reflections and city glow
Blue hour is not just a sky. The artificial light on the ground is half the picture, and reflective surfaces double it.
- Water and wet surfaces. Calm water, tide pools, wet sand, and rain-slicked pavement all mirror lights back at the camera. Get low and shoot across them.
- Light trails. A 8 to 15 second exposure at f/11 turns passing cars into streaks of red and white. Pick a spot where the road curves through your frame.
- Lit structures. Piers, bridges, and boardwalk rides look their best right as the sky behind them is still blue. The Santa Cruz Beach Boardwalk and the lights along West Cliff Drive are good examples of this: the lights are on, but the sky still gives them a backdrop.
- Watch the brightest lights. Neon and bright signs will clip first. Check the histogram and drop exposure a notch if the lights lose all detail. You can always lift the shadows later. You can't recover pure white.
Common mistakes
- Arriving after the color is gone. By the time it looks dark to your eyes, the best light is over.
- Handholding at slow shutter speeds. If you don't have a tripod, brace on a railing or a wall and raise the ISO. A sharp, slightly grainy frame beats a clean, blurry one.
- Autofocus hunting. In dim light, switch to single-point AF on a bright edge, or focus manually using live view magnification on a distant light.
- Shooting only one frame. The sky changes minute by minute. Take a series and pick the best balance afterward.
- Pushing the edit too far. Heavy saturation and HDR crunch ruin the soft quality of the light.
Try it this week
You don't need new gear. Pick a place with some lights and some sky, like a pier, a harbor, or a street with a view. Check sunset time, arrive 30 minutes early, and set up on a tripod at ISO 100 and f/8. Shoot every few minutes from sunset until the sky goes black. Compare the frames at home and you'll see exactly when the balance peaks.
If you want to see what this looks like in practice, I keep a selection of twilight and coastal frames in the gallery. And for the full set of night recipes, settings tables, and techniques, everything is in the low-light & night photography guide.