 Story Mode Guy
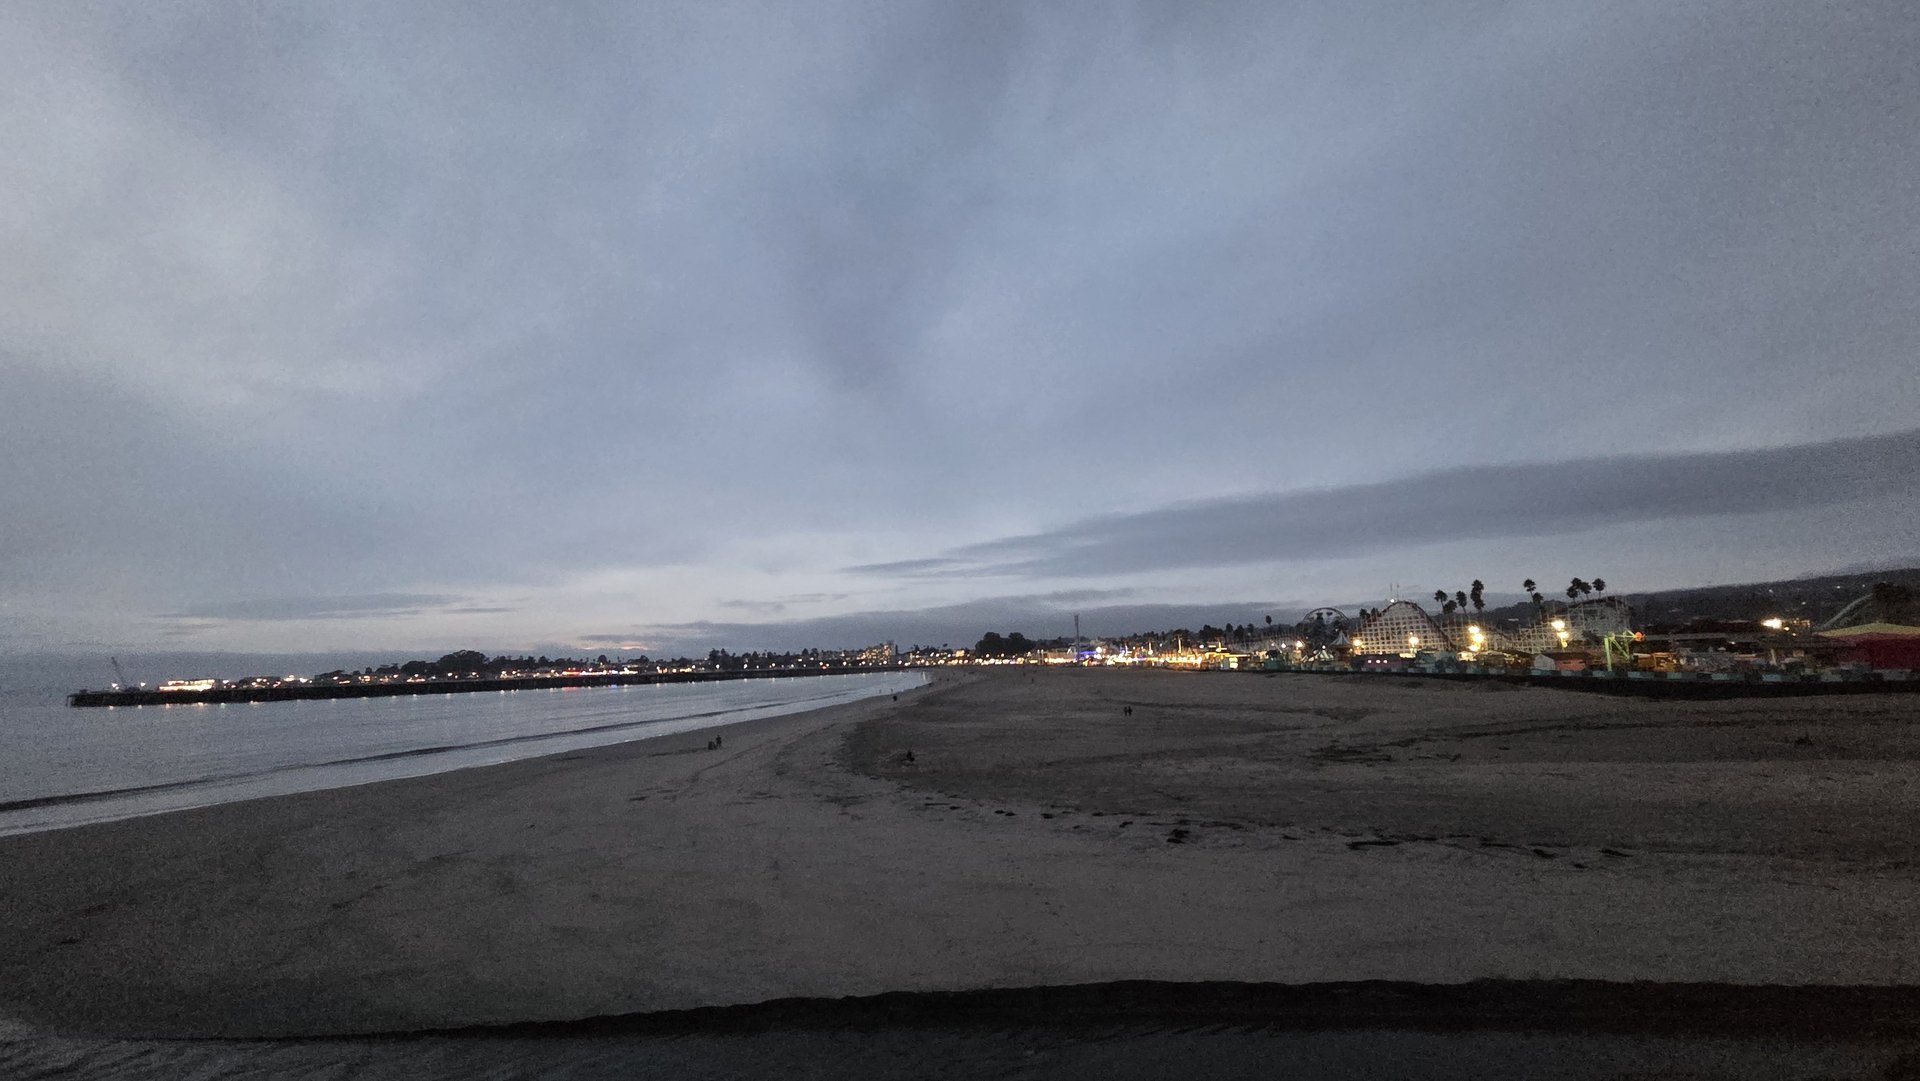
If you want to know how to take photos at night that are actually sharp, the secret is not a fancier camera. It's understanding why night shots go bad: too little light means slow shutter speeds, and slow shutter speeds mean blur. Fix that problem with a few smart habits and your night photography settings will start producing clean, crisp images, no flash required. These are the methods I use shooting around Santa Cruz after dark, from the wharf lights to the stars above the coast.
Why night photos turn out blurry and grainy
Your camera needs a certain amount of light to make a good picture. At night there isn't much, so it compensates in one of two ways: it slows the shutter way down, which lets hand shake and moving subjects blur, or it cranks the ISO up, which introduces grain. Auto mode often does both at once. The goal is to give the camera more light to work with, steady it, and choose the trade-offs yourself.
Start with a steady base
This is the biggest upgrade you can make. A tripod lets you use slow shutter speeds without any shake, which means low ISO and clean files. If you don't have one, improvise: a wall, a railing, a fence post, or a beanbag all work. Set the camera down, don't just lean on it.
Once it's locked down, use a two-second timer or a remote release. Pressing the shutter button yourself causes a tiny vibration, and at one second or longer it shows up in the image. If your lens or camera has stabilization, turn it off while on a tripod, since it can introduce its own blur.
Choose your settings deliberately
Switch to manual mode and start here for a city or street scene on a tripod:
- Aperture: f/2.8 to f/4 if you want more light, or f/8 for sharper detail and starbursts around lights.
- Shutter speed: 1 to 4 seconds for static scenes.
- ISO: 100 to 400 on a tripod, 1600 to 3200 handheld.
For stars, the rules change. Use your widest, fastest lens at f/2.8 or wider, ISO 1600 to 3200, and a shutter speed around 15 to 20 seconds. Longer than that and the stars start to smear into short lines as the Earth rotates.
Handheld? Know your limits
Sometimes a tripod isn't practical. For handheld night shots, a rule of thumb is to keep your shutter at one over your focal length, so 1/60 with a 50mm lens. At night that means you'll need a wide aperture and a higher ISO, perhaps f/1.8, 1/60, ISO 3200. Brace your elbows against your body, exhale slowly, and squeeze rather than jab the shutter. Modern cameras handle ISO 3200 well enough that a little grain is a fair price for a sharp frame.
Own the dark
The Low-Light guide covers exact settings, focus tricks, and noise control so your after-dark shots come out sharp and clean.
Get the Low-Light guide ($27) →Nail focus in the dark
Autofocus often hunts or fails when there's little contrast. A few fixes:
- Aim at a bright light, a lit window, or a high-contrast edge, and focus there.
- Switch to manual focus and use live view zoomed in to 10x on a bright point, then turn the focus ring until it's tiny and crisp.
- For stars, focus on a bright star or distant light, then don't touch the ring again.
- Take a test shot and zoom in on the screen to verify.
Focus is the most common reason a night photo that looks fine on the camera is soft on the computer. Always check at full magnification.
Shoot RAW and manage noise
RAW files hold far more shadow detail than JPEGs, so you can brighten a dark frame without it falling apart. They also let you fix white balance afterward, which is useful because streetlights can be orange, green, or blue. Set white balance around 3500 to 4000K to start, then fine-tune. Noise reduction in editing software can clean up high-ISO images, but use it gently or you'll smooth away real detail.
Compose with the light you have
Good night photos use existing light as a feature: a lit pier, car trails, lanterns, a lit-up Boardwalk ride. Look for a bright subject against a dark background, and try to include something that gives the eye a place to land. Wet pavement after rain doubles every light with a reflection.
Practice and refine
Go out on a clear evening, set up on a rail or tripod, and try the same scene at three shutter speeds. Compare and see where sharpness meets brightness. Within a couple of nights the numbers will start to feel natural. If you'd like some inspiration, the gallery has plenty of frames from after the sun goes down.