 Story Mode Guy
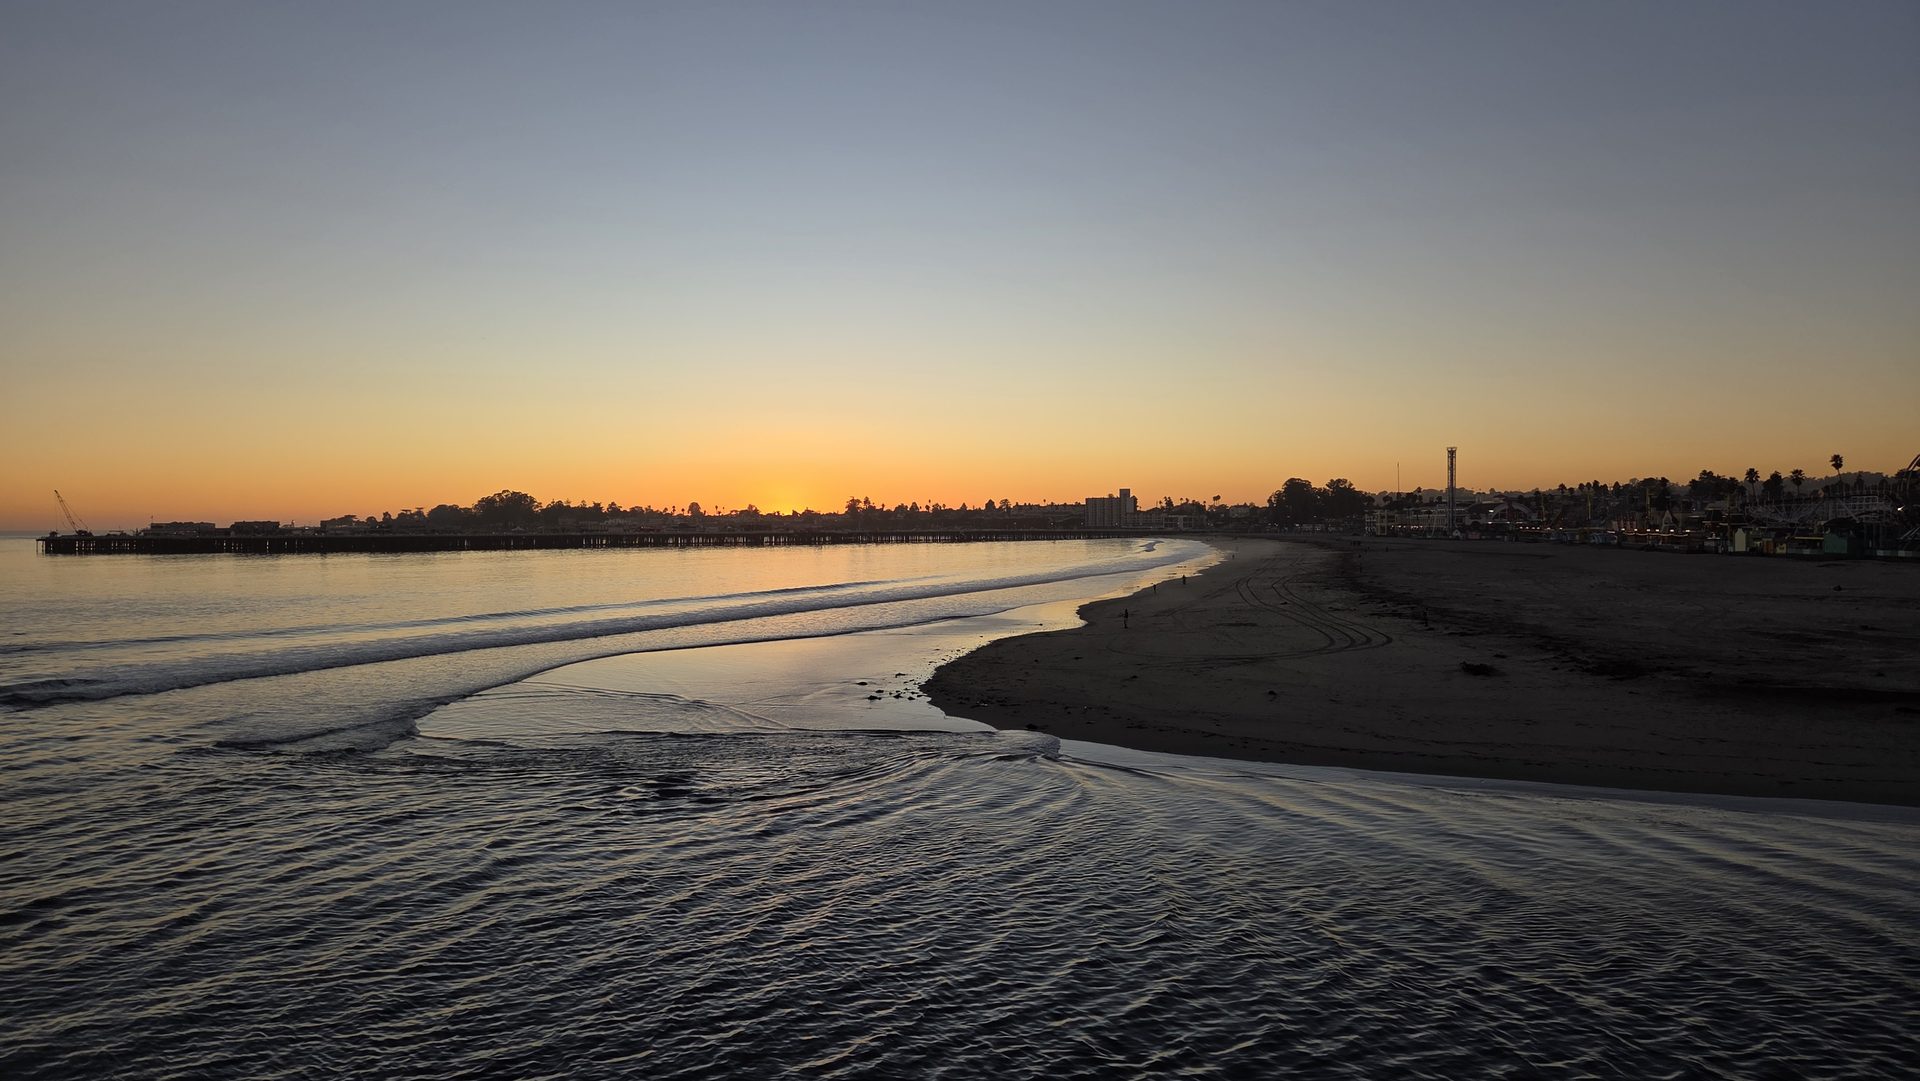
Depth of field is the reason one photo has a creamy, blurred background and another has everything sharp from front to back. It isn't magic, and it isn't just about expensive lenses. Three things control it: aperture, distance and focal length. Once you understand how they interact, you can decide how much of your picture is in focus before you press the shutter.
What Depth of Field Actually Means
Your lens focuses precisely on one plane at a time. Depth of field is the zone in front of and behind that plane that still looks acceptably sharp. A shallow depth of field means only a thin slice is sharp, so the background melts away. A deep depth of field keeps nearly everything sharp, which suits landscapes.
Blur isn't a switch. It's a gradual falloff, and you control how fast it happens.
The Three Levers You Control
1. Aperture
The aperture is the opening inside your lens, measured in f-stops. A smaller f-number like f/1.8 or f/2.8 is a wide opening and gives shallow depth of field. A larger f-number like f/11 or f/16 is a narrow opening and gives deep depth of field. This is the easiest lever to adjust and the one most people reach for first.
2. Distance to Your Subject
The closer you are to your subject, the shallower the depth of field becomes. Photograph a flower from 30 centimeters at f/4, and the petals may be sharp while the leaves just behind them blur. Step back to three meters at the same f-stop, and the scene looks sharp throughout. Many people overlook this one, and it's often the quickest way to add blur without changing anything else.
3. Focal Length
Longer lenses give a shallower look. An 85mm lens at f/2.8 blurs a background far more than a 24mm lens at f/2.8. That's partly why portrait photographers love short telephotos. Keep in mind the framing changes too, since a longer lens makes your subject larger in the frame unless you step back.
The Background Matters Too
There's a fourth factor that isn't a camera setting: how far your subject sits from its background. If your model stands against a wall, even f/1.4 won't make that wall blur much. Pull them 3 to 5 meters away from it, and the same aperture turns the background into soft color. Whenever you want separation, move the subject, not just the settings.
A Quick Recipe for Maximum Blur
- Use the widest aperture your lens allows, such as f/1.8 or f/2.8.
- Choose a longer focal length, around 85mm or 135mm if you have it.
- Get close to your subject.
- Place your subject far from the background.
- Focus carefully on the eye or main detail, because shallow depth of field makes misses very obvious.
Take control of blur and exposure
The manual-mode guide shows you how to set aperture, shutter speed and ISO together so you get the exact look you want.
Get the manual-mode guide ($27) →A Recipe for Everything Sharp
Landscape and architecture photographers want the opposite. For deep depth of field:
- Choose f/8 to f/11. This is usually the sweet spot for sharpness across the frame.
- Use a wide-angle lens, 16mm to 35mm.
- Focus about one-third of the way into the scene, not at the horizon.
- Use a tripod, since small apertures mean slower shutter speeds.
Don't go smaller than about f/16 on most lenses. Light bends around the edges of a tiny opening, a problem called diffraction, and the whole image becomes slightly soft. On the Santa Cruz coast I'll often shoot a tide pool at f/11 so the foreground rocks and distant cliffs both hold detail.
Choosing Depth of Field for the Story
Depth of field is a storytelling tool, not just a technical outcome. Shallow focus isolates a subject and tells the viewer where to look. Deep focus gives context and a sense of place. A portrait of a surfer at f/2.8 emphasizes the person. The same surfer at f/8 shows the wave, the beach and the crowd.
Ask yourself: what's the single most important thing in this frame? If it's one subject, go shallow. If it's the relationship between things, go deeper.
Common Mistakes
- Shooting wide open all the time. At f/1.4, a face can have a sharp eye and a blurry nose. Stop down to f/2.8 for more forgiving results.
- Expecting phone-like sharpness. Small sensors naturally have deep depth of field. Larger sensors need more care with focus.
- Ignoring focus point accuracy. Use single-point autofocus and place it exactly where you want sharpness.
- Forgetting the shutter speed. Opening the aperture lets in more light, so you may need a faster shutter or lower ISO to avoid overexposure.
The best way to learn this is to run a simple test. Put an object on a table, take five photos at f/2, f/4, f/8, f/11 and f/16 without moving, and compare them side by side. You'll see the effect more clearly than any diagram can show. When you're ready to see how these choices play out in finished work, wander through the gallery.