 Story Mode Guy
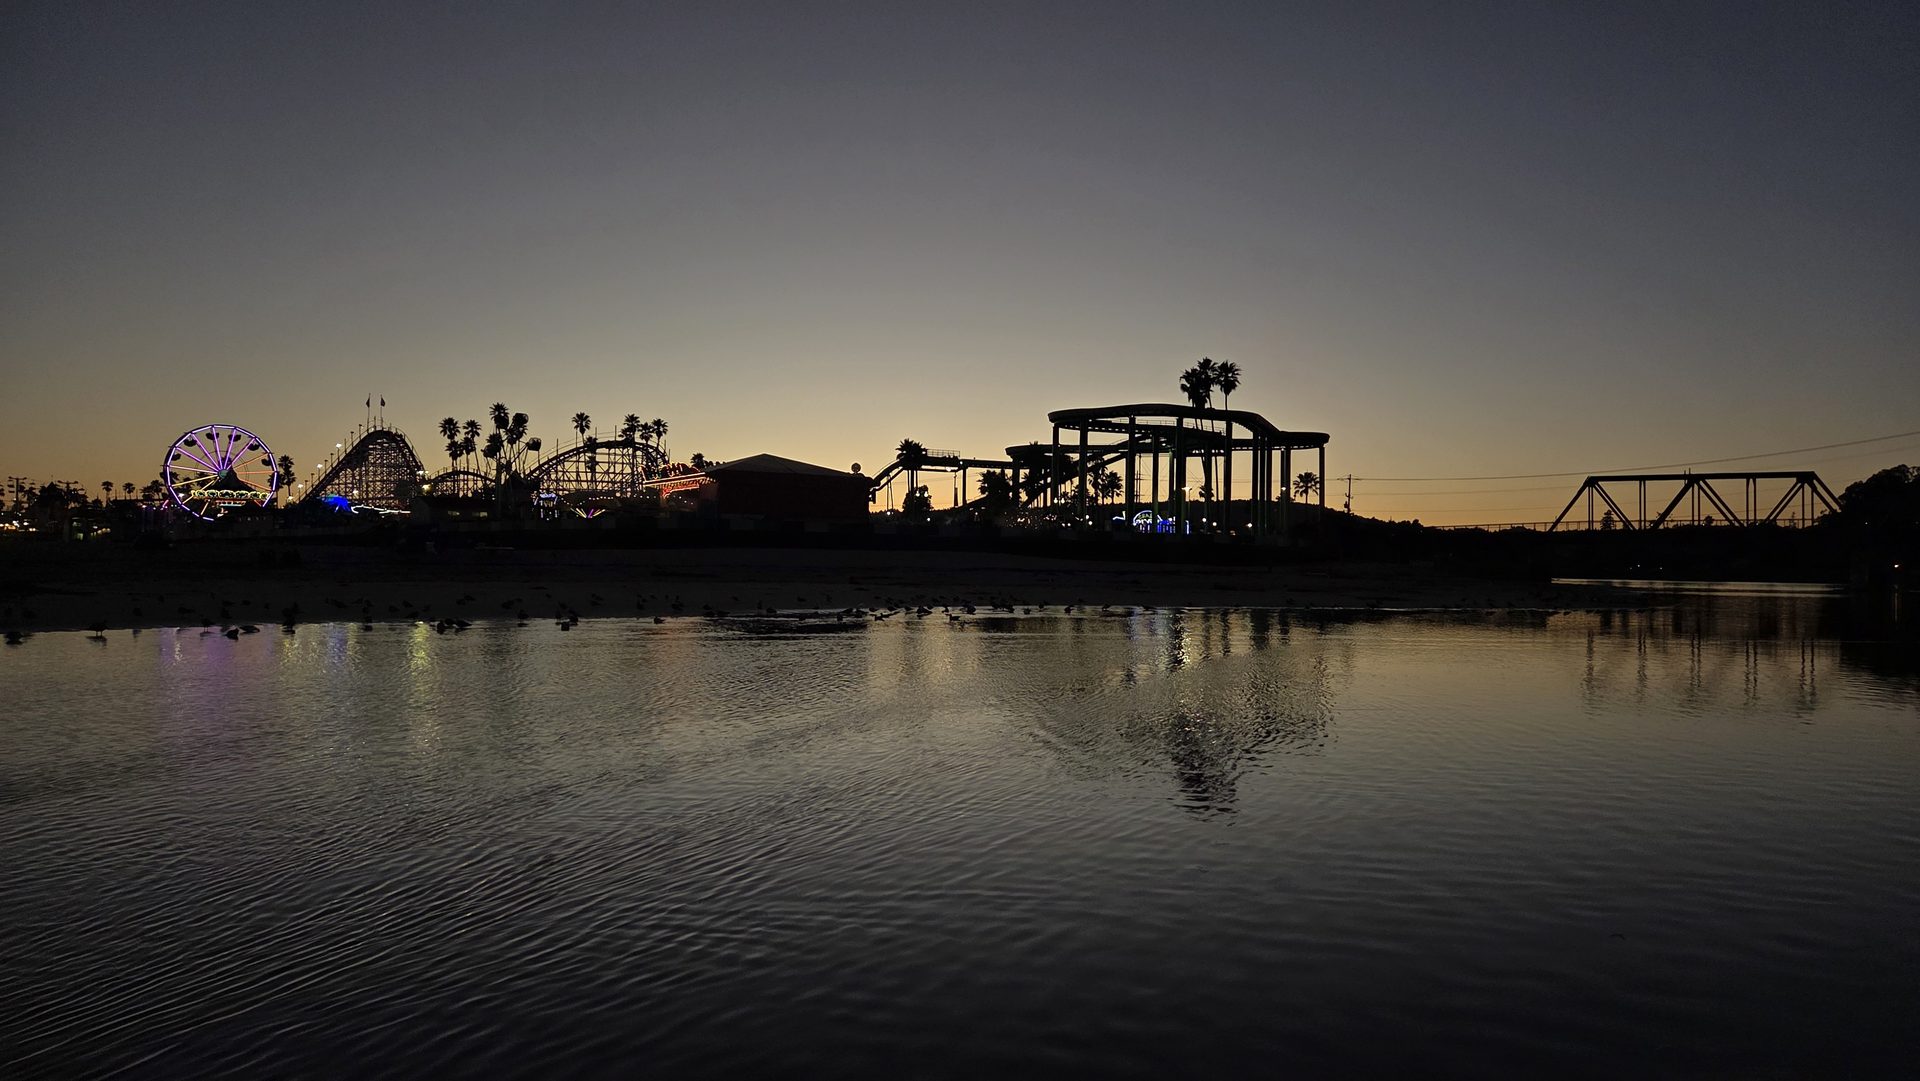
Learning how to shoot in manual mode is the single biggest step most people take toward better photos, and it's less scary than it looks. Auto mode makes every decision for you, which is why your pictures of sunsets come out gray and your kid's soccer game comes out blurry. Manual just means you decide. Here's the workflow I use, step by step, and the one I'd teach a friend standing next to me on West Cliff Drive.
Before you switch: get your camera ready
A few minutes of setup saves a lot of frustration. Do these first:
- Turn the mode dial to M.
- Set ISO to a fixed number (not Auto), like 200 in daylight.
- Switch on the exposure meter in your viewfinder or screen. It's the scale with a zero in the middle and plus and minus on the sides.
- Shoot RAW if your camera allows it. It gives you room to fix small mistakes.
- Set a single focus point, and know which button you use to focus.
Find the two control dials on your camera too. One usually changes aperture, the other shutter speed. Spend two minutes just turning them and watching the numbers change.
Step 1: Pick your subject and your priority
Don't start with settings. Start with what you're photographing. Is it a person, a moving dog, a landscape, a still object? That answer tells you which dial to set first. For a portrait, I start with aperture. For anything that moves, I start with shutter speed. For a tripod landscape, I start with ISO at its lowest.
Step 2: Set the dial you care about most
Choose a starting point and lock it in:
- Portraits: f/2.8 or the widest your lens offers.
- Walking-around and street: f/5.6 at 1/250.
- Kids, pets, sports: 1/500 or faster.
- Landscapes: f/8 on a tripod, ISO 100.
These are starting points, not rules. The point is to begin with something sensible rather than a random number.
Step 3: Use the meter to set the rest
Now point the camera at your subject, half-press the shutter, and look at the meter. If the marker sits left of zero, the picture will be too dark. If it sits right of zero, too bright. Adjust one of the remaining dials until it hovers near zero.
Which one should you adjust? Use the dial you didn't lock in step 2. If you set aperture, change shutter speed. If you set shutter speed, change aperture or raise ISO. Move one dial at a time. If you change everything at once, you won't know what worked.
Step 4: Take a shot and read the result
Take the picture and look at it on the back screen. Don't just trust the meter, since it can be fooled by bright skies or dark scenes. Check the histogram if you can, the little mountain-shaped graph. If everything is piled against the left wall, you're underexposed. Against the right wall, you're blowing out highlights. A healthy histogram has detail that doesn't crash into either edge.
Then correct. If it's too dark, add light. If it's too bright, remove some. Shoot again. This loop of shoot, check, adjust is the real skill, and it gets fast with repetition.
Make manual mode feel automatic
The manual-mode guide gives you ready-to-use settings, practice drills, and troubleshooting for the situations where beginners get stuck.
Get the manual-mode guide ($27) →Step 5: Handle changing light
The nice thing about the Auto mode you're leaving is that it adapts. In manual, you need to adapt yourself. If a cloud rolls over the beach, your meter drifts to the left and you need to react. My habit is to glance at the meter every few shots. Walk from open sun into shade and I'll slow the shutter a notch or lift ISO to keep up.
If you want a safety net while you build confidence, try manual with Auto ISO. You control aperture and shutter speed, and the camera adjusts ISO to keep the exposure right. It's a legitimate technique many working photographers use, and it lets you focus on two dials instead of three.
Common mistakes to avoid
- Shutter too slow for handheld. A good floor is 1 over your focal length. With a 50mm lens, stay at 1/60 or faster.
- Forgetting ISO. You leave it at 3200 after a night shoot, then wonder why your noon photos look washed out.
- Chasing perfect zero. The meter is a guide. A little under or over is often better artistically.
- Changing too many things. Adjust one setting, check, then adjust the next.
Practice makes it automatic
Pick one subject, maybe your coffee mug by a window, and photograph it in manual for ten minutes. Change one dial at a time and watch how each shot changes. Do that for a week and the dials will start to feel like second nature. When you want to see what's possible, the gallery has plenty of frames I shot entirely in manual along this coast.