 Story Mode Guy
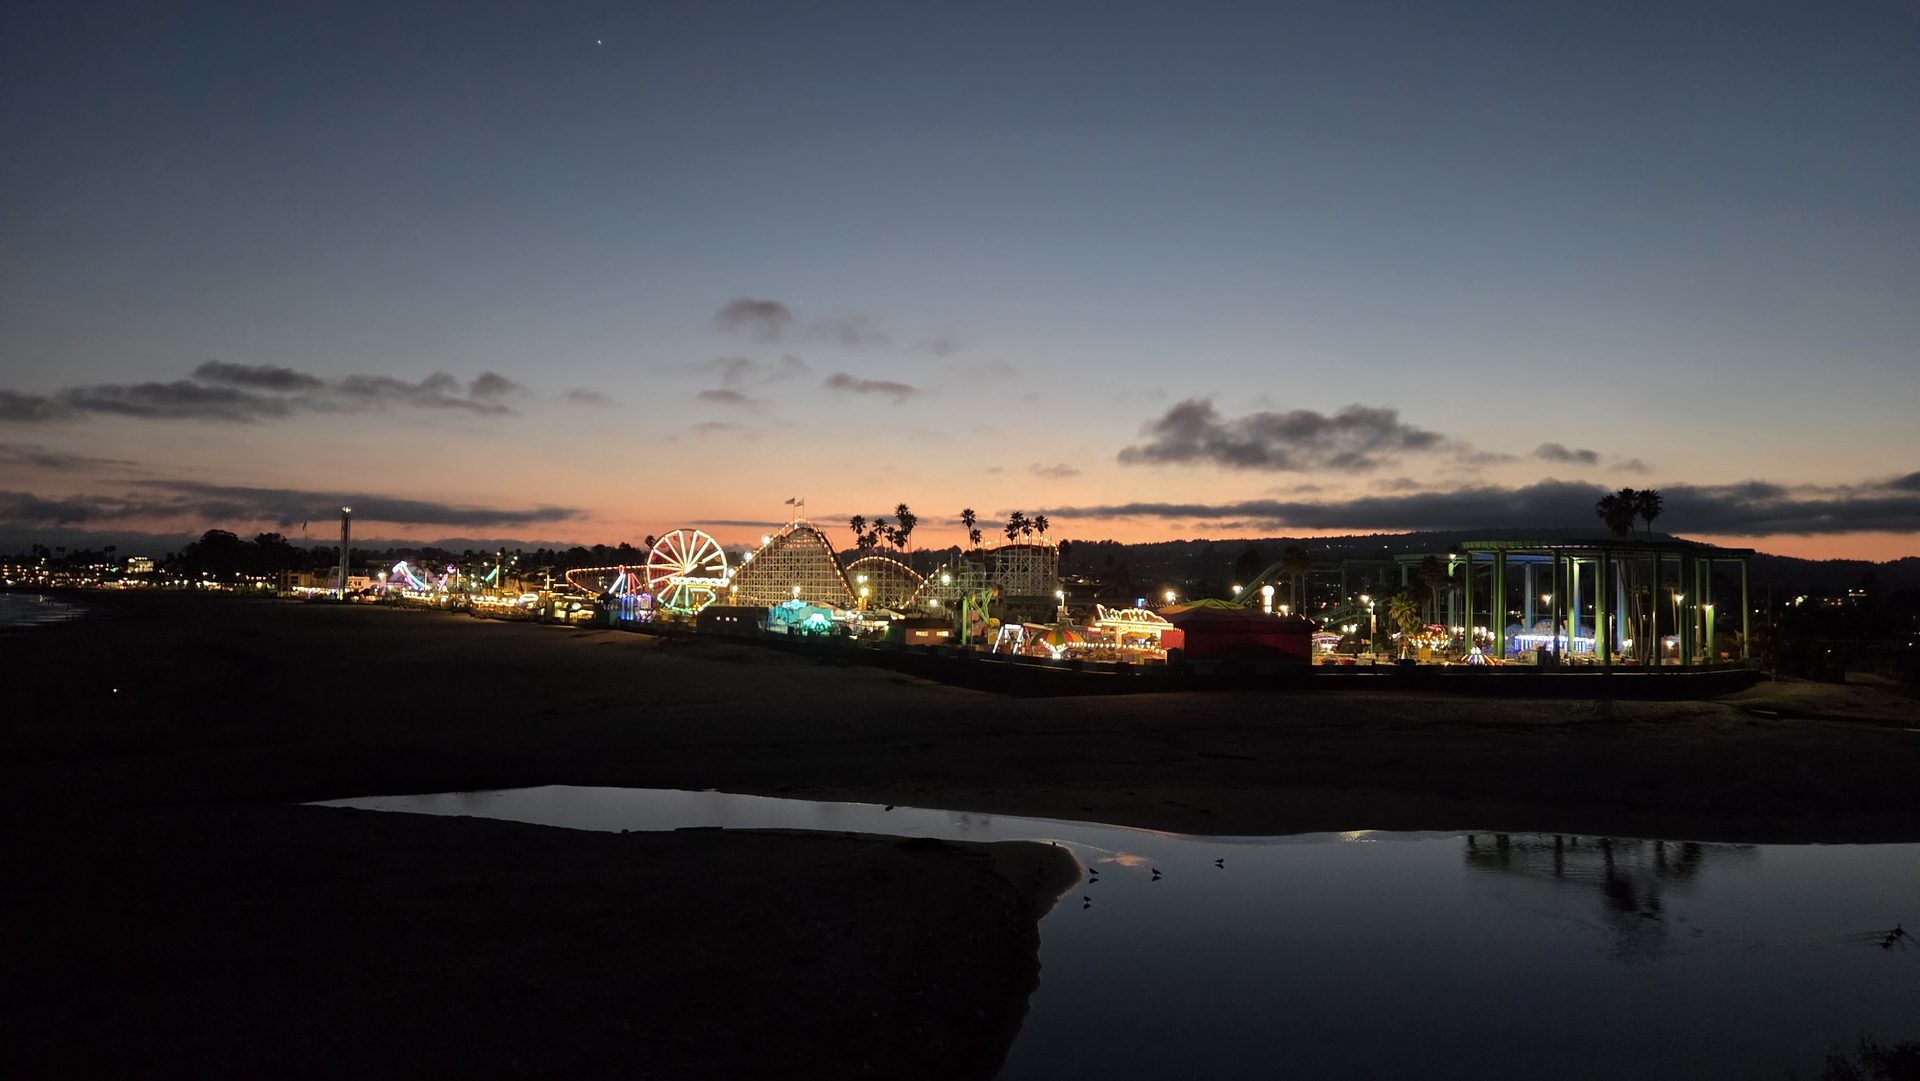
Learning how to photograph fog is one of the fastest ways to level up your landscape work. Living in Santa Cruz, I get plenty of practice. Morning marine layer rolls over the hills, swallows the redwoods and turns Highway 1 into a scene from a film. The trouble is that fog fools your camera, and a lot of foggy photos come home looking flat, grey and lifeless. Here's how I keep them moody.
Why Fog Confuses Your Camera
Your camera's meter assumes every scene averages out to a mid-grey. Fog is bright and low in contrast, so the meter thinks the scene is too bright and darkens it. The result is muddy grey instead of luminous mist.
The fix is simple: add exposure compensation. I usually dial in +0.7 to +1.3 stops for dense fog. Check your histogram. You want the main data pushed toward the right side without clipping the brightest areas into pure white, unless that's the look you want.
Camera Settings for Foggy Scenes
- Shoot RAW. Fog photos live or die by subtle tones, and RAW gives you room to adjust.
- Mode: Aperture priority with exposure compensation, or full manual if you're comfortable with it.
- Aperture: f/5.6 to f/11 for landscapes. Fog already softens distance, so you don't need to stop down aggressively.
- ISO: Keep it at base. Fog is smooth, and noise shows up in those flat tones.
- Shutter speed: Handheld is often fine at 1/125 or faster, but on a tripod you can go slower for dreamy movement in water or grass.
- White balance: Try Cloudy or set it manually around 5500K to 6500K. Auto often pushes fog toward cold blue.
Find Depth in a Flat Scene
Fog flattens contrast, so a successful photo needs layers. Look for subjects at different distances: a nearby tree in sharp focus, a second row slightly faded, a third barely visible. Each layer loses contrast as it recedes, and that gradient is what creates a sense of depth.
Some compositions that work well on the coast:
- Silhouettes. A lone cypress, a pier or a lighthouse against pale mist.
- Repeating shapes. Redwood trunks marching into the haze.
- Leading lines. A path, fence or road disappearing into white.
- Layered ridgelines. Hills stacked behind each other in graduated tones.
Fog is also great for simplifying a messy background. Telephone wires, parked cars and signs vanish, which helps you build clean compositions without much effort.
Keep It Moody, Not Muddy
Once you've nailed exposure, the mood comes from how you finish the image. In editing, I do three things:
- Set the black point. Pull the blacks down until the darkest part of the frame has a bit of weight. Even in a bright scene, one deep tone makes the mist look luminous.
- Use contrast gently. A little midtone contrast helps, but don't overdo it. Heavy clarity or dehaze sliders make fog crunchy and unnatural.
- Respect the color. Cool shadows with a hint of warmth in the highlights feel cinematic. Keep skin tones and warm light sources natural.
Stop guessing at exposure
The manual-mode guide teaches you how aperture, shutter speed and ISO work together so tricky scenes like fog stop being a gamble.
Get the manual-mode guide ($27) →Timing and Location
Fog is a matter of weather, and weather rewards planning. Here on the Central Coast, the marine layer is thickest in the early morning and often burns off by late morning. Summer is the prime season, though winter valley fog in places like the Santa Cruz Mountains can be spectacular too.
- Check the forecast for high humidity and low wind, especially after a cool night.
- Arrive early. Fog changes minute by minute, and the best light often arrives just as it starts to thin.
- Go higher when you can. Elevated spots may sit above the fog, giving you rolling seas of cloud below.
- Watch for light beams. When the sun starts breaking through redwoods, shafts of light show up in the mist. Those are the pictures people remember.
Practical Tips for the Field
Fog is wet. Moisture condenses on lenses, so bring a few microfiber cloths and keep one in a pocket close to your body. Use a lens hood to keep droplets off the front element. If you're moving between warm and cold environments, let your gear adjust slowly in the bag so you don't fog up from the inside.
Also, slow down. Fog rewards patience. Wait for a bird to fly through, a cyclist to cross the frame or a gap in the mist to reveal a feature, then press the shutter. One well-timed frame beats a hundred rushed ones.
Next time you wake up to grey skies, grab your camera instead of going back to bed. If you want to see how fog and coastal atmosphere look in finished work, take a look at the gallery.