 Story Mode Guy
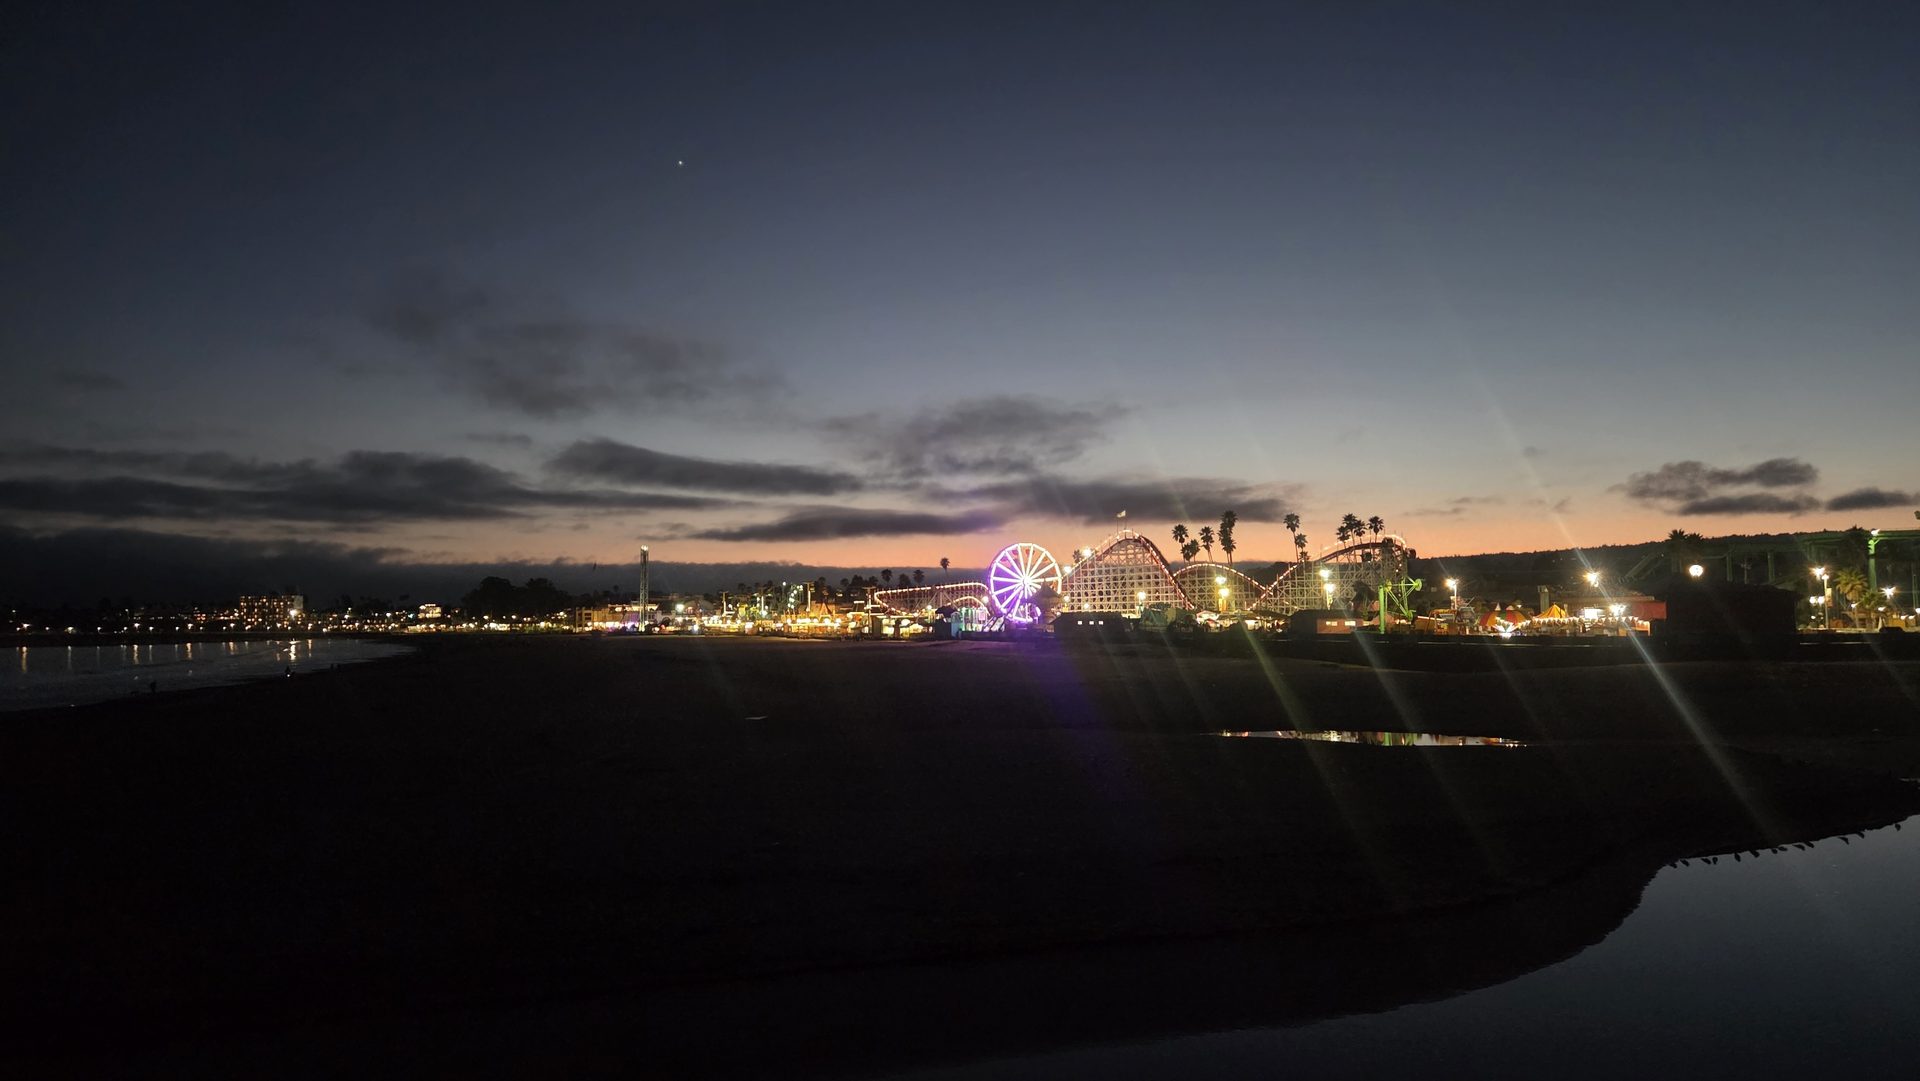
Drones are sold as flying cameras for video, but some of my favorite frames from the Santa Cruz coast are stills. Drone photography gives you a vantage point nobody can reach on foot: surf lines drawn across a beach, the geometry of farm fields, a cove at golden hour seen from straight above. A few habits separate scroll-stopping aerial photos from the thousands of ordinary ones. Here are the techniques I rely on.
Shoot RAW and Set Up for Stills
Stills have different needs than video, so change your settings before takeoff.
- Shoot RAW (or RAW plus JPEG). You'll need the extra latitude for highlights and shadows.
- Keep ISO low. Stay at base ISO whenever the light allows. Small sensors get noisy quickly.
- Use aperture mindfully. If your drone has an adjustable aperture, around f/4 to f/5.6 is usually sharpest. Fixed-aperture models make this easy because you don't have to choose.
- Check the histogram, not the screen. A bright day makes the preview look better or worse than it is.
A polarizing filter is the single most useful accessory I carry. It cuts glare on the water so you can see the sand and rocks beneath, and it deepens sky tones.
Top-Down Photography: Look for Patterns
Pointing the camera straight down changes everything. There's no horizon, no sky, and no sense of up. That's what makes it so graphic. The key is to find subjects that read well as shapes:
- Lines and curves. Roads, shorelines, wave patterns, rows of crops.
- Contrast of texture. Dark rock against pale sand, or green against brown.
- A lone subject. One surfer, one umbrella, or one kayak gives scale and a focal point.
Rotate the drone until the lines work in the frame, and use the grid to place your subject off-center. Low sun helps a lot here because long shadows give depth to what would otherwise be a flat picture. Shadows from your own drone can sneak into the shot if the sun is low and high above you, so check the corners.
Aerial Panoramas That Stay Sharp
Because a small sensor can only capture so much, panoramas are a great way to get a bigger, more detailed image. Most drones have built-in pano modes, but I often shoot them manually for control:
- Hover steady and shoot overlapping frames, around 30 percent overlap.
- Lock exposure and white balance so frames match.
- Shoot vertical frames across a horizontal sweep for extra height.
- Stitch in your editing software and crop to taste.
Another approach is the "sphere" or wide-angle style, which creates a dramatic planet-like view. It looks fun, but use it sparingly or it becomes a gimmick.
Study aerial light and composition
See how coastal scenes look from above with a library of drone material you can reference and use in your own projects.
See the drone library →HDR for High-Contrast Scenes
A bright sky over a shaded cliff is more than a small sensor can hold in one shot. That's when I use bracketing. Take three or five frames at different exposures, typically two stops apart, and merge them in your editor. A few notes:
- Use a still scene. Moving water and branches create ghosting when blended.
- Hover as steadily as possible, and turn on the drone's auto exposure bracketing.
- Keep the result natural. Aim to recover detail in shadows and highlights, not to produce an over-processed look.
If the dynamic range isn't too large, a single RAW file with careful edits often does the job and avoids any alignment issues.
Chasing Golden-Hour Light From Above
Low-angle light looks even better from the air. Warm sun picks out textures in the dunes and hills, and long shadows trace the shapes of trees and buildings. Plan for the 30 to 60 minutes around sunrise or sunset. Use a weather app and a sun-position tool to know where the light will land, scout in advance, and arrive early so you can launch and be at altitude when it counts.
Along the Central Coast, fog and marine layer can add a lovely soft glow, but they can also swallow your shot. Check the forecast, but also be ready to adapt when you get there.
Fly Safe and Legal
Check local airspace and park rules before you launch, because many beaches and parks have restrictions. If you sell your aerial photos or shoot for a client, that counts as commercial work in the US and requires an FAA Part 107 certificate, so verify the current FAA rules.
Edit With a Light Hand
Start with exposure and white balance, recover highlights, lift the shadows modestly, and add a little contrast and clarity. Then crop for a stronger composition. If you want to see how I handle light and subject on the ground and in the air, take a look at the gallery.